-40%
Garden Duster Puffer For Applying Dusts and Powders Green Bellows Duster
$ 13.17
- Description
- Size Guide
Description
EatonGreen
Duster
Hand Duster For Applying Dusts / Powders
Eaton Duster
(Green)
Note: This hand duster does not come with dust. You will have to purchase the dust separately.
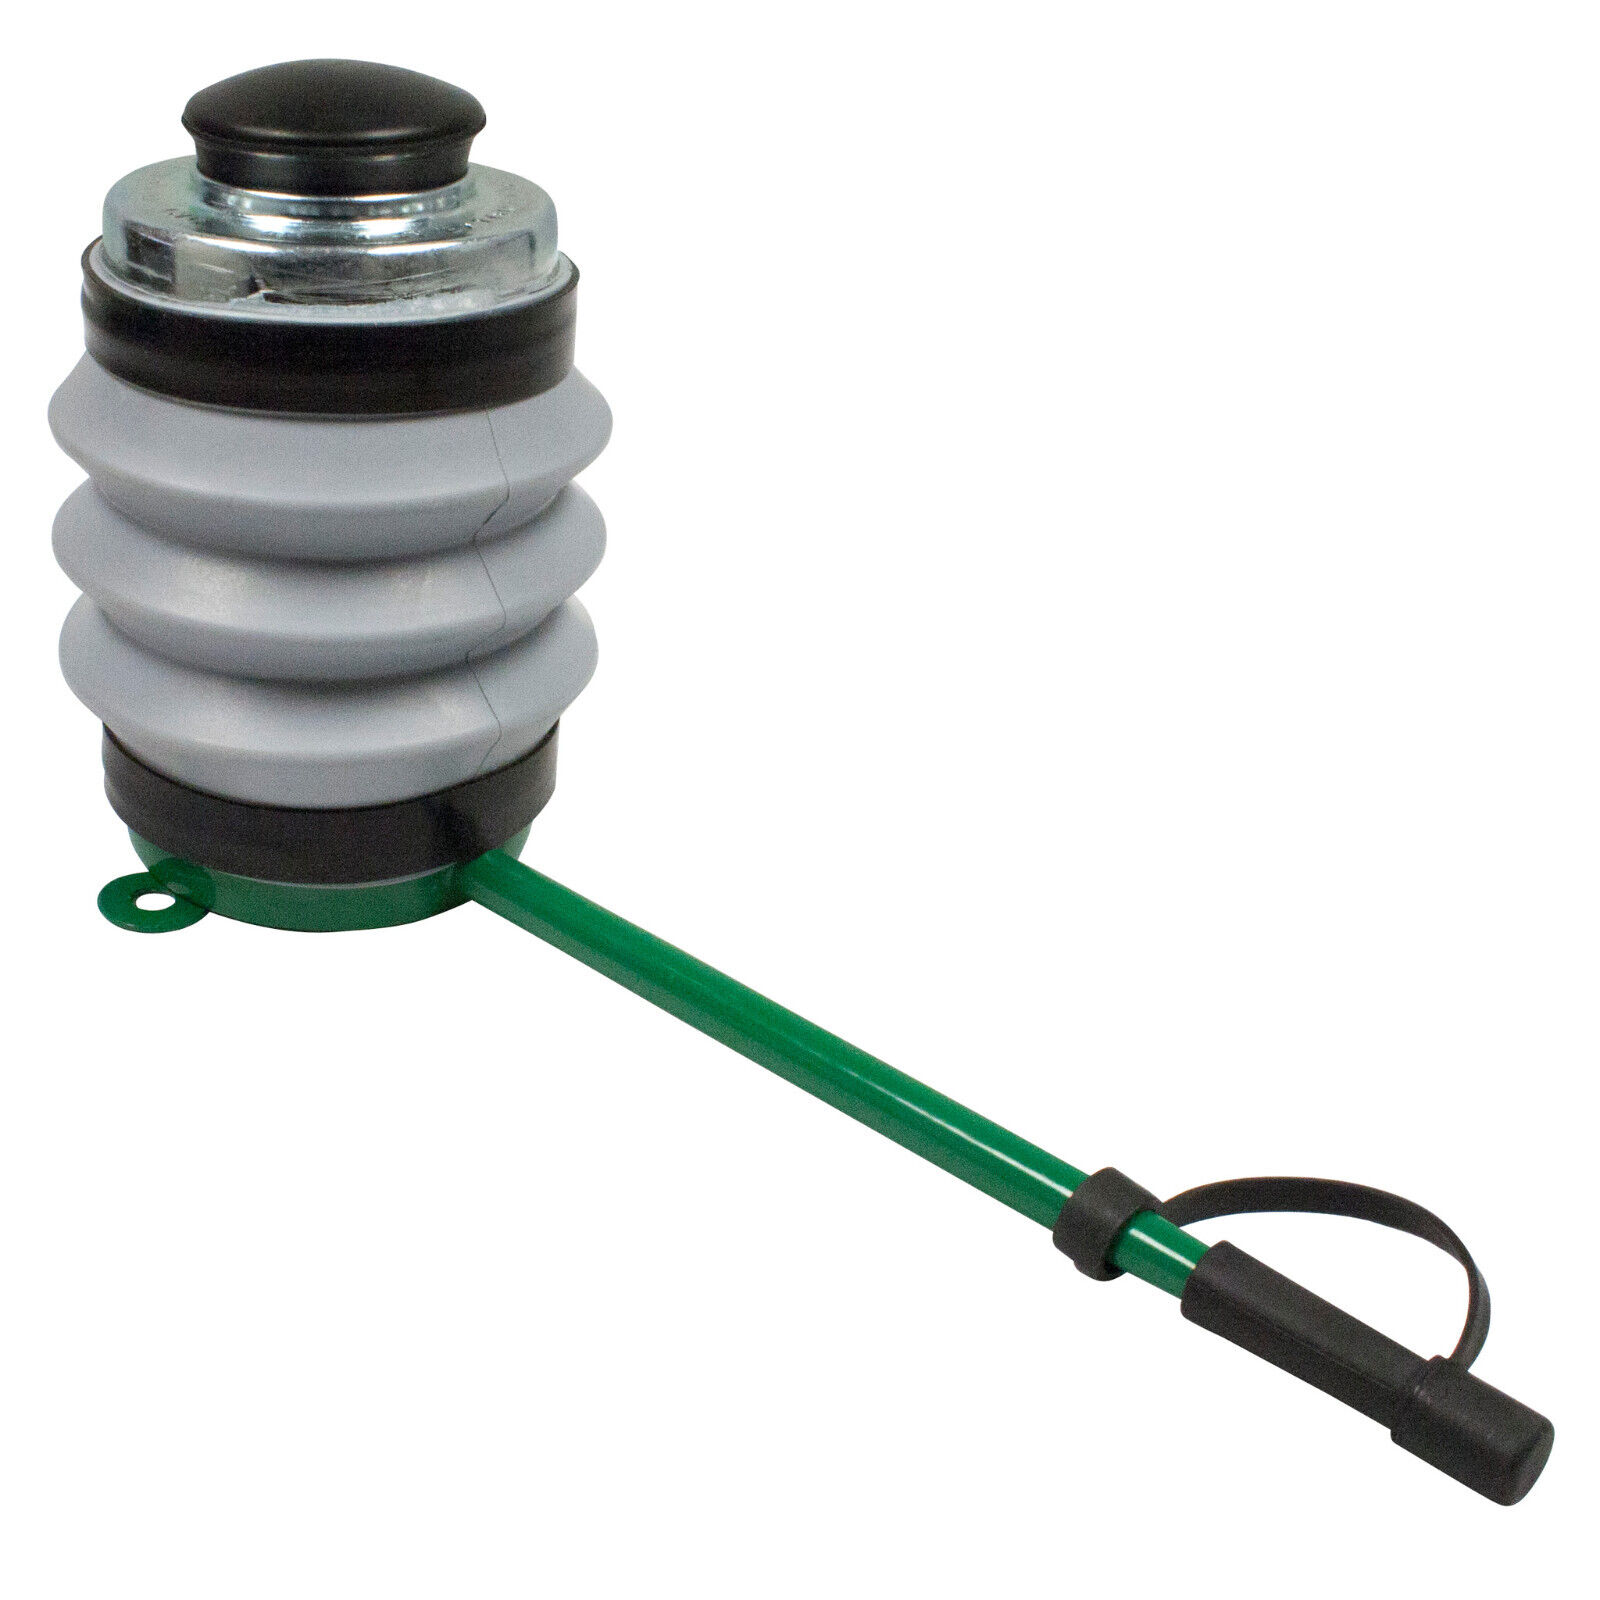
This is a Green Duster.
This Bellow Hand Duster is the Professionals Choice when it comes to crack and crevice treatments of fine dust products into small areas.
This product has a 6-inch powder coated extension to treat hard to reach places.
Then end of the extension where the dust comes out measures 1/4 inch. The metal extension also features an insulated black tip to prevent a shock hazard when dusting near electrical outlets.
To use the duster, fill the gray rubber container (bellows) half-way full with a dust product . It is also recommended to place a small rock in the duster to help break up the dust and prevent it from clumping.
Compressing the bellows will cause dust to escape the metal tip of the duster. Using a duster allows you to inject dust more easily into cracks and crevices or inside wall voids where insects like to hide.
How To Use This Hand Duster:
Remove black rubber cap from top of duster. The duster should be filled only halfway - no more than two-thirds full. This allows for adequate air space to create the desired air/dust mixture prior to application. If there is too much dust in the duster, clumps of dust on treated surfaces may result, leading to over application of the product and messy spills.
Between each squeeze, the duster should be shaken slightly to get dust floating inside the duster.
When applying dust into cracks and crevices and on surfaces, gently squeeze the duster to ensure the application of very thin layers of dust. When dusting correctly, you should barely be able to see the dust emerging from the tip of the duster.
Before relaxing your grip on the duster, pull it away from the surface or crack you are treating to prevent sucking up lint, moisture or debris. Small amounts of these items will eventually cause lumping and/or clogging of the duster. In the event that the nozzle becomes clogged, you may unscrew the rod from the rear of the nozzle and insert it into the nozzle to break up any clogs.
TIPS:
Place several pebbles or small ball bearings in your duster to keep the dust agitated and ensure than any clumps are broken up prior to application.
Carry a small brush and a damp cloth. These can be used in the event that dust accidentally drifts out of cracks and crevices and onto non-target areas. Use the brush to push excess dust into cracks, and use the cloth to wipe up.
How to Control the Amount of Dust Flow:
1. Holding the duster base down produces a larger amount of dust product dispensed.
2. Holding the duster base sideways produces a medium amount of product dispensed.
3. Holding the duster base up produces the smallest amount of dust product dispensed.


